Getting Started With React - Part 2: Exploring Components
React is a library for building user interfaces, but most of the work we’ve done so far has only laid the groundwork for actually carrying out that task. The UI we left off with doesn’t exactly expose React’s power.
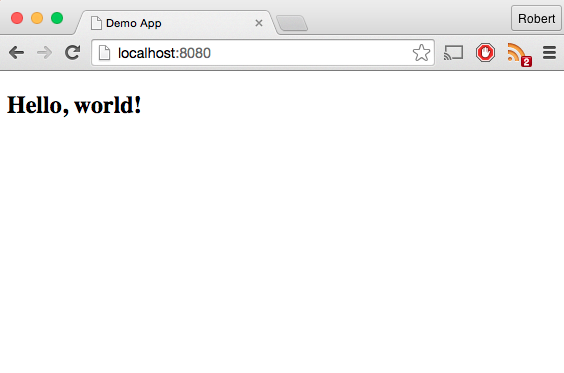
If we want to start building something that looks better and does more, we should start to get a handle on React’s tool for generating views: components.
Components are modules that include a render() method that tells the program what to display. They can generate content dynamically, responding to data passed in by other components or the user.
Once you start taking advantage of their numerous features and piecing them together, components provide a valuable tool for constructing sophisticated user interfaces.
Let’s take a look at how components can help us transform our little “hello, world” app into something a bit more visually appealing…
Before We Begin: Housekeeping
If you’re just hopping on now, you can access the source code for the work we’ve done so far in the second commit of the demo-react-app Github repo.
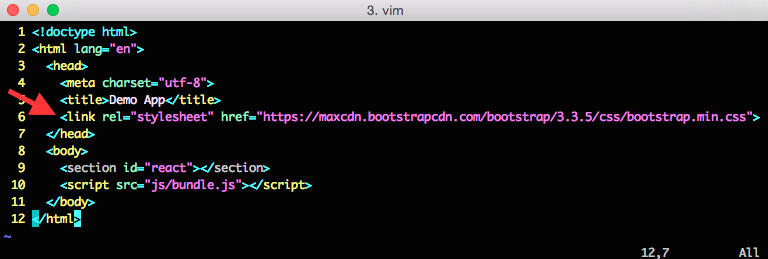
Before we begin coding up components, we’ll want to install a few additional tools. The first is react-bootstrap, which will provide a quick and easy way to add some styling. You can install it by running npm install --save react-bootstrap. You’ll also want to add a link to the Bootstrap stylesheet in the <head> of your index.html file:1
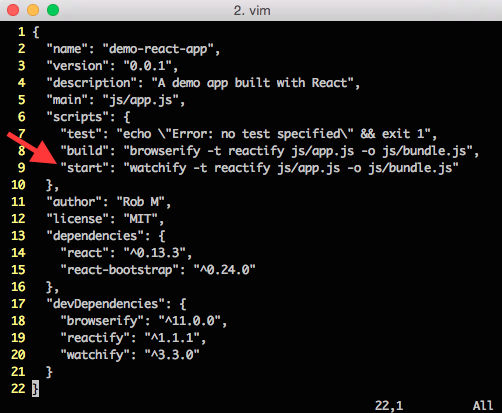
Next, we’ll want to install Watchify, which will enable us to automatically recompile our js/bundle.js file each time we make an edit to our source code. Add it by running npm install --save-dev watchify, and then add a start script to your package.json file:2
Now we can run npm run start to initiate our watchify script, spin up an http-server in our project directory, and see changes reflected in the browser almost immediately as we save them.
Step 1: Extract A Component
Where last left off, we were including the full view for our app in the js/app.js file:
This works fine when we’ve got so little display, but it quickly becomes unmanageable as our view becomes more substantial. The solution, in React, is to delegate the work to components.
Let’s start by moving the JSX code we’ve got in the js/app.js file over to a new js/components/home_page.js file. Now our js/app.js file can look like this:
The <HomePage /> call exhibits React’s syntax for instantiating components in JSX - they exist as their own element on the page (with whatever components reside on them nested further down).
To make this work the same as before, we need the js/components/home_page.js file to look like this:3
If we load the page in the browser, everything will look the same. But we’ve introduced a valuable tool: now we can apply the same technique to nest multiple components.
Step 2: Nesting Components
Say, for example, we want to add a header, a body, and a footer to our site. This is a great opportunity to start nesting components.
Instead of having the home page store all of the content for the site, it could instantiate several other components that would each handle one part of the view.
To do so, we want to change our js/components/home_page.js file to contain the three subordinate components: <Header />, <Body />, and </Footer>.4
Once that’s in place, we need to create the subordinate components.
Here’s a js/components/header.js file that takes advantage of some react-bootstrap components to create a Navbar that’s fixed to the top of the page:
A js/components/body.js file to welcome our users:
And a /js/component/footer.js file to round things out:
At this point, our page starts looking a lot better:
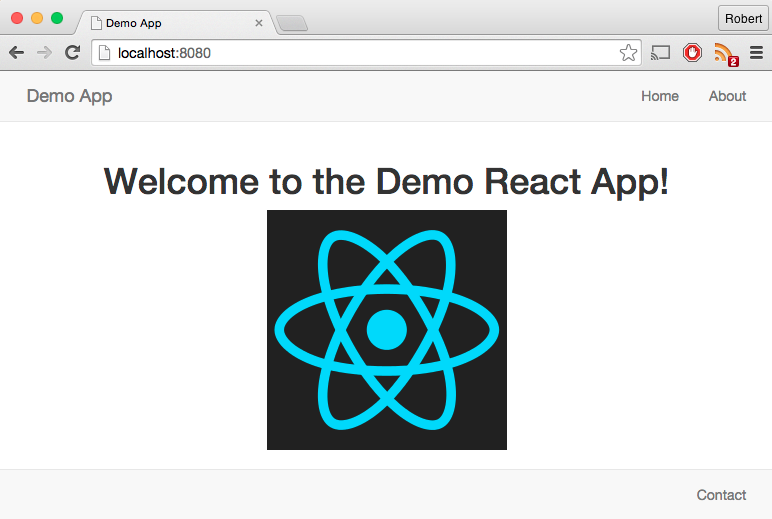
And we’ve got the added bonus that things are increasingly separated out from one another: we can independently edit the header, body, or footer for the page without too much concern about the others.
Step 3: Dynamic Content
The page is starting to look a little better, but it still isn’t very “reactive” - we basically could have put everything together with some HTML and CSS. What more can we get out of components?
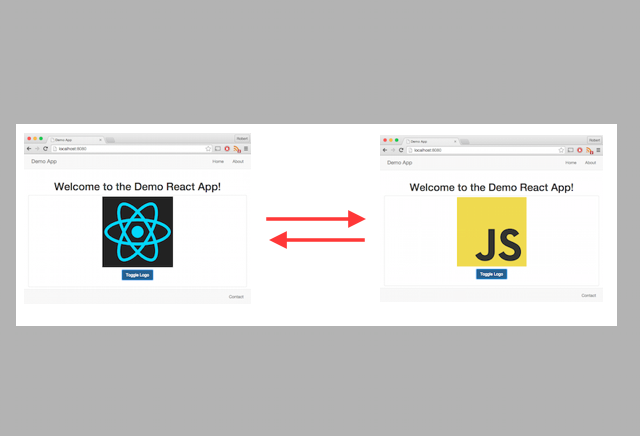
Say we wanted to add a button that would toggle the image users see on the body of the page. Instead of always seeing the React logo, they could click the button to see the JavaScript logo (and back and forth ad infinitum).
An easy way to implement this in React is to use the component’s properties and state. Properties are values which should never change, while state is explicitly mutable via the setState() method.
Properties can be passed into a component when it’s instantiated, but they can also be set with the getDefaultProps() method. Similarly, initial state can be set via getInitialState().
If we wanted to add this new functionality entirely within the body component, we could do so like so:
Here, we set the urls of the two image logos as properties of our Body component (since they will never change), then set the initial state with showReactLogo set to true. When the user clicks the button, we call toggleImage() to set showReactLogo to the opposite state of whatever it was. Within our render() call, we determine which image to show based on current state.
The result is that users can toggle the image back and forth by clicking our button. Our app is reacting to something!
Wrap Up
We’ve definitely made some improvements to our demo app by starting to work with components. We’re now displaying formatted text, incorporating images, and changing things on the fly. We’ve also locked down a less intrusive build process for faster feedback loops.
But we’ve still barely scratched the surface of all we can do with React. Stay tuned for part 3!
-
To access the latest version of the Bootstrap stylesheet, head over to Bootstrap’s Getting Started page and check out the Bootstrap CDN. ↩
-
I’ve added the most simple version of the
startscript here, but you may find it helpful to add the-vflag to get more verbose output each time yourjs/bundle.jsfile is recompiled. ↩ -
Note our use of
React.createClass()- this is a constructor for React components. Check out the React Top-Level API for info on React methods you’ll want to know. ↩ -
Note the closing tags - JSX requires closing tags even in places where you might normally be able to get away with leaving them off. ↩